No products in the cart.
Return To Shop
Black Myth Wukong: Best Curios Ranked
Black Myth Wukong is a game that revels in any opportunity to make the player struggle, and in the early stages of the game, this struggle tends to come through the sheer lack of resources that you have to work with.
However, as you progress through the various chapters of this game, learn new skills, and acquire new materials, you’ll have enough items to piece together a very respectable build. And at the heart of that build is your Curios.
Curios are Black Myth Wukong’s answer to accessories in any traditional RPG, and over time, you’ll acquire a number of these helpful items. However, these items are not made equal, and there are definitely a few of these Curios you’ll want to focus on getting ahead of others.
So, to make sure you prioritize the right ones, here is a quick list of the best curios in Black Myth Wukong, ranked.
We will be ranking these Curios based on their effects, but also on their ease of access, and how early they show up within the game.
10 Wind Chime
Rarity: Rare
Location | Obtained at the Keeper’s Shrine. (Only available by purchasing Deluxe Edition) |
|---|---|
Effect | Slightly increases movement speed |
We begin proceedings with the  Wind Chime curio. This is a Curio that generally isn’t super helpful when fighting against most bosses in Black Myth Wukong. But it can be very helpful situationally and is also a blessing when exploring the world in between all the action.
As a utility item, when paired with the 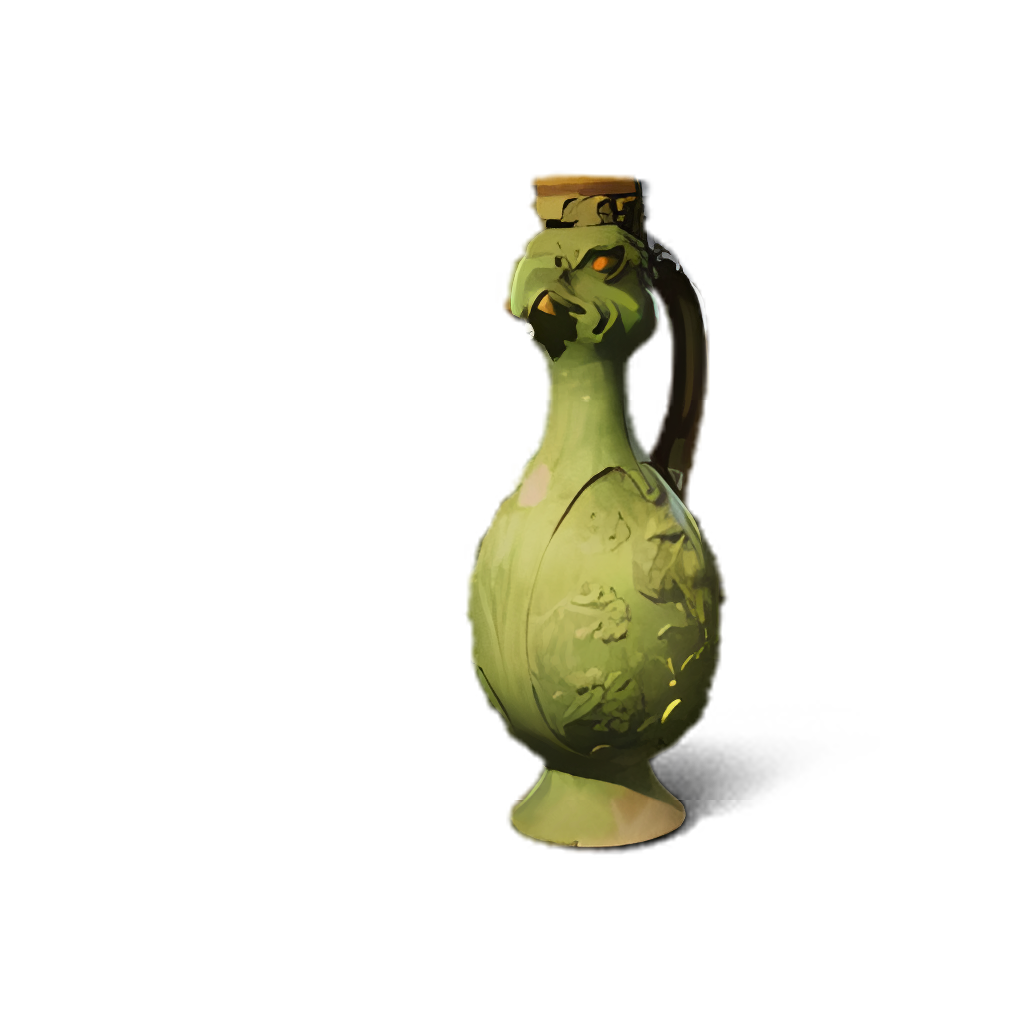 Bluebridge Romance Drink, this item allows you to move significantly faster than normal, allowing you to cover ground at speed, explore chapters for hidden goodies without enduring annoying, slow runbacks.
Plus, when fighting against bosses like the Violet Spider or Zhu Bajie for example, this added mobility when stuck in webs or sludge, respectively, can be the difference between dodging and dying. It won’t make you a little blue hedgehog, but you’ll be the fastest monkey by a distance.
9 Tiger Tally
Rarity: Rare

Location | Reward For Defeating Tiger Vanguard (Past version) in the Kingdom of Sahali |
|---|---|
Effect | Upon successful hits with Light attack Combo, moderately increases Attack for a short duration. |
There are several encounters in the game where you will need to be very intentional and mindful of how and when you dodge and attack. But, there are also a lot of fights where spamming the attack button is the best way to win, and in that scenario, that’s when the  Tiger Tally shines. As this Curio gives you a boost to your overall attack strength for every consecutive light attack combo you land.
If you have this alongside the Composure skill, you’ll be able to dodge and attack without ever breaking your combo chains, and this will ensure that you’ll deal massive damage for as long as you can duck and weave around your foe. The attack buff isn’t huge, but considering you’ll always be chaining light combos to build focus, this is a great Curio to have in your arsenal.
8 Snow Fox Brush

Location | The Snow Fox Brush can be obtained towards the end of Chapter 3, and it’s the reward for completing the Fox’s Questline. |
|---|---|
Effect | The Snow Fox Brush increases transformation durations by 20%. |
If you took the time to fight General Guangzhi in the first chapter of Black Myth Wukong, you’ll know just how helpful transformations can be. I can’t tell you how many times the  Red Tides Transformation saved my bacon.
However, transformations are generally over in the blink of an eye. So, to make them last a little longer, you can employ the help of the 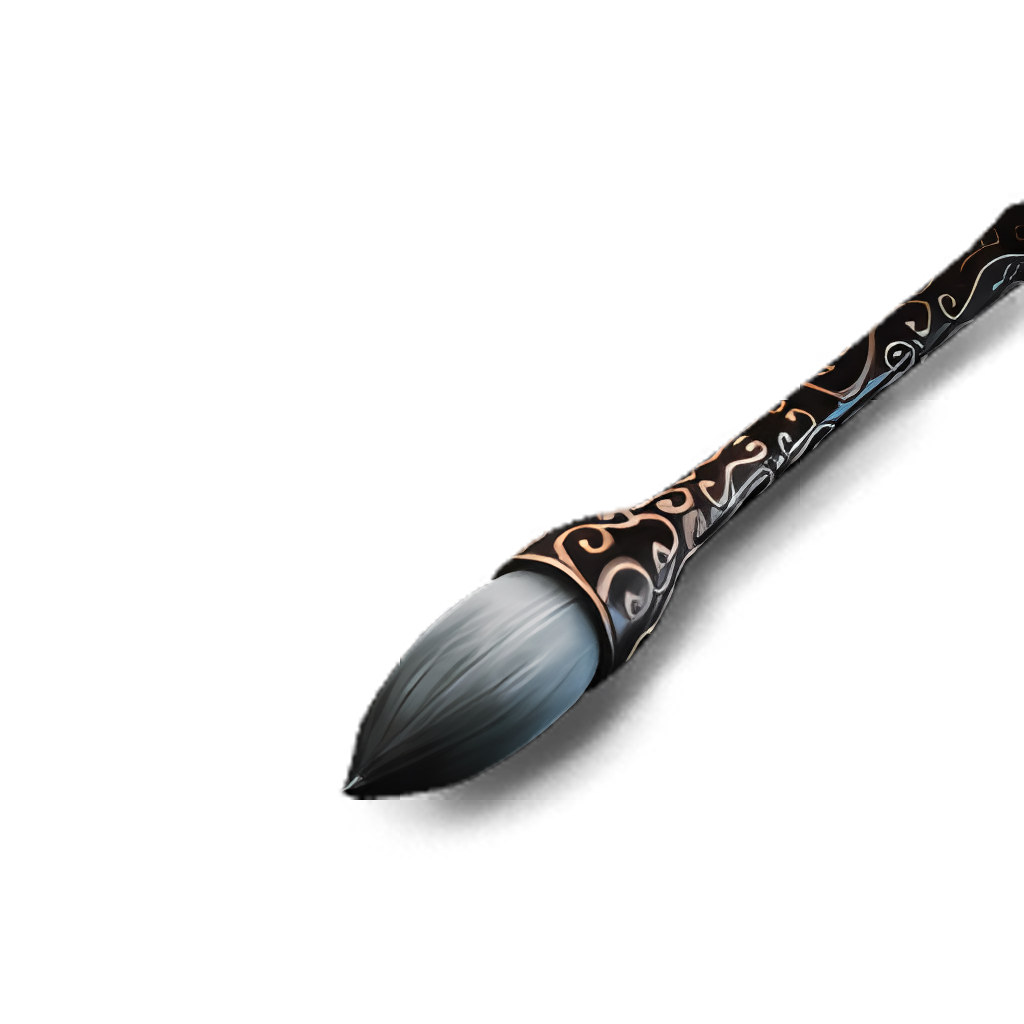 Snow Fox Brush .
This item is earned by completing the Fox Quest in chapter three, which also means you’ll need to defeat  Non-Void . However, if you can manage this, it will serve you well in the second half of the game, especially when you get your hands on more powerful transformations, like
  Ebon Flow for example.
7 Tridacna Pendant
Rarity: Rare

Location | Obtained in Chapter Two after defeating Black Loong |
|---|---|
Effect | The Tridacna Pendant reduces the cooldown of all your spells. |
You can use melee combos and string together dodges until you are blue in the face. But if you aren’t peppering in some heavy strikes and spells, you’ll be sent back to your nearest shrine with your tail between your legs.
Spells are essential if you want to beat the toughest bosses in the game, and having access to them at any given moment can help you turn the tide in battle.
The only problem is that cooldowns may leave you without a spell when you need it most. But with the  Tridacna Pendant you’ll witness faster cooldowns with each spell, meaning you’ll never be without a spell for long.
You know, unless you’re out of Mana, but that’s a whole different conversation. In short, if you want to chain spells and keep your enemies on the back foot, the Tridacna Pendant is a great option.
6 Gold Sun Crow/Jade Rabbit Moon
Rarity: Epic

Location | The Gold Sun Crow is found in Chapter 4’s secret area, Purple Cloud Mountain |
|---|---|
The Jade Rabbit Moon is obtained as a reward for defeating Zhu Bajie in Chapter 4 | |
Effect | The Gold Sun Crow increases your damage output. Effect is enhanced if used alongside Jade Rabbit Moon |
The Jade Moon Bunny increases your damage reduction. Effect is enhanced if used alongside the Gold Sun Crow |
I’m cheating ever slightly by cramming two Curios into one entry here, but in my defense, neither of them would be included without the other equipped alongside, for you see, these Curios are a double act.
One slightly increases the damage you deal, while the other lowers the damage you take. However, when you equip the two together, you get a significant boost to each.
This makes you much more well-rounded as a combatant, as you can take more hits when the going gets tough but can also go on the offensive and deal massive damage with ease.
The only drawback is that this accounts for two of your already rather limited Curio spots, but it’s a reasonable trade-off for this dual buff.
5 Gold Spikeplate
Rarity: Epic

Location | The Gold Spikeplate increases your defense by 32 points and inflicts damage to any enemy that hits you. |
|---|---|
Effect | Obtained by defeating the Dark-Faced Overlord in Chapter 3 |
I can already hear the ‘git gud’ squad screaming with their pitchforks, as the 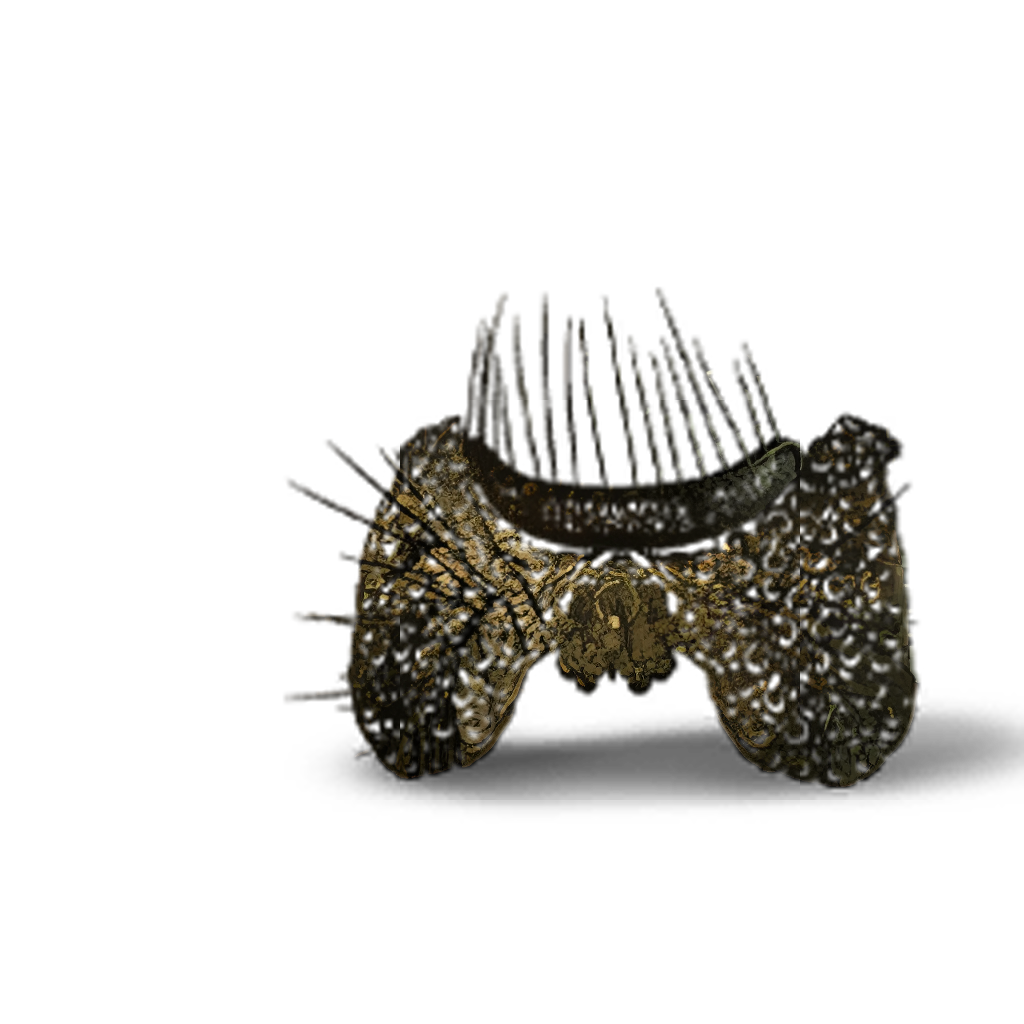 Gold Spikeplate only really benefits the player when they take damage. And naturally, it’s better that you just not take the damage at all.
I don’t dispute that at all, but at the end of the day, that’s a low percentage play, as most of us are fallible players who will get hit time and time again.
So, if you are one of those players, the Gold Spikeplate can help level the playing field. As this Curio deals damage to any enemy that inflicts damage on you, it will also hurt all enemies in the immediate vicinity.
Plus, it also offers a decent defense buff. If you have perfect dodges down to a tee, then you can ignore this one, but if you’re an average Joe like myself, this is a great item to have.
4 Celestial Registry Tablet
Rarity: Epic

Location | Found in chest in Chapter 4’s secret area, Purple Cloud Mountain |
|---|---|
Effect | The Celestial Registry Tablet increases the experience points you get by defeating enemies. |
As you get through the initial chapters of Black Myth Wukong, you’ll begin to see that level-ups are less and less frequent, and Sparks to unlock new skills are harder to come by.
Which can be a pain, especially if there is a skill that would really help tie your build together that’s just out of reach. Sure, you can use some great farming methods, but if you want to make them even more lucrative, you’ll want the 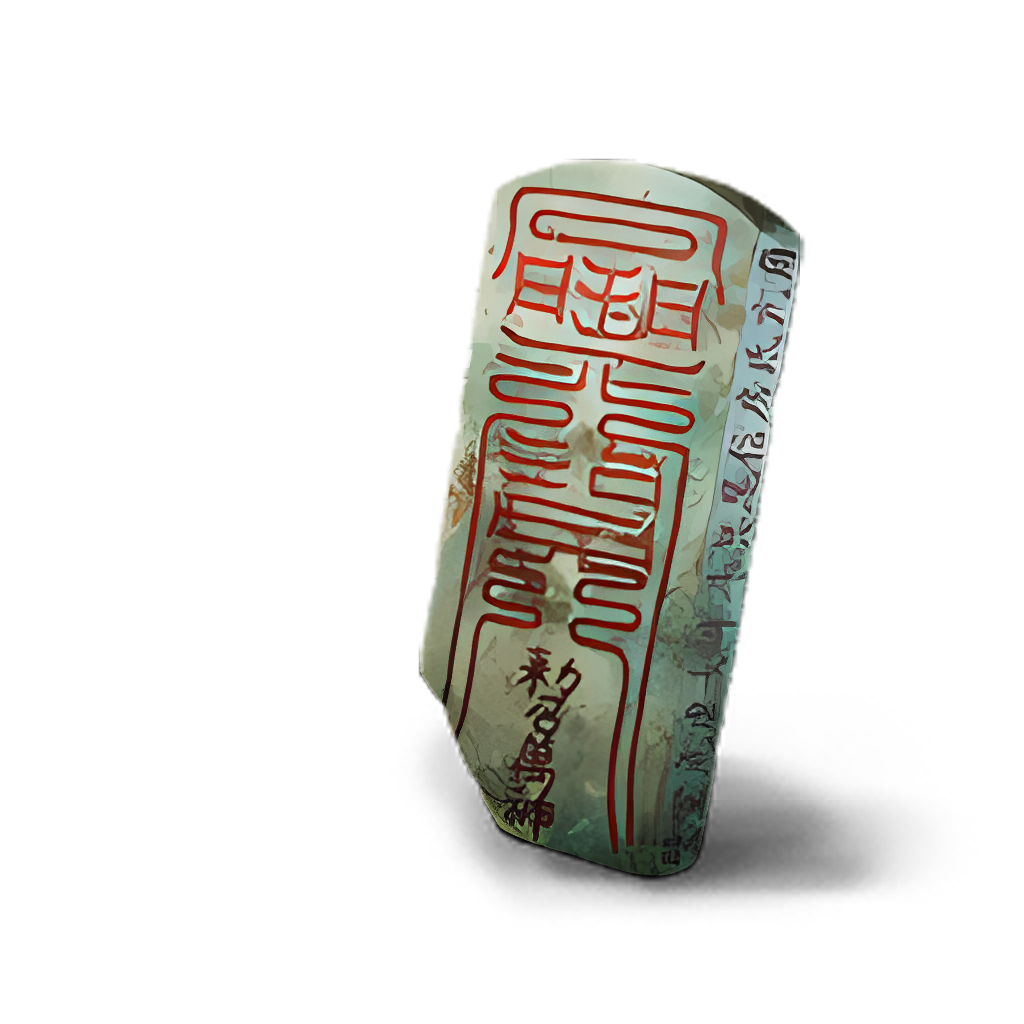 Celestial Registry Tablet .
This is an item not too unlike the  Gold Scarab Talisman in Elden Ring, allowing the player to earn more XP per action, which makes grinding levels less of a burden. This is a great item to equip if you can spare a Curio slot during major boss fights, and generally speaking, if you keep this equipped long-term, you’ll hit max level in no time.
3 Celestial Birthstone Fragment
Rarity: Mythical

Location | Reward for defeating Ling-Baw-Baw in Chapter 6 |
|---|---|
Effect | Ignores all four banes resistances |
In theory, this Curio should be number one, and it shouldn’t even be close. As this Curio allows the player to ignore all four bane resistances, meaning any strong bane-based build will work against any enemy type.
However, due to the fact that the player can only receive this item deep into the sixth and final chapter of the game, it means that this one just doesn’t have the screen time to hit that top spot.
That being said, this is still a wonderful item that can make the tougher end-game boss fights a little more manageable. Plus, if you choose to take on a New Cycle and embrace Black Myth Wukong’s new game plus mode, this item can make rematches against previously infuriating bosses much less aggravating.
It’s worth getting for sure, but we only wish we could have unlocked it sooner.
2 Thunderflame Seal
Rarity: Rare

Location | Dropped by Thunder Rhino Masters and Monks in Chapter 3 |
|---|---|
Effect | The Thunderflame Seal increases your maximum Mana by 30 points. |
Remember what I said earlier about spells being super overpowered and important in this game? Well, there’s only one thing better than having faster spell cooldowns, and that’s being able to cast more spells overall.
Mana is at a premium in this game, and there is no easy way to refill the Mana bar without sacrificing its uses or rare medicine like  Essence Decoction . However, with the
 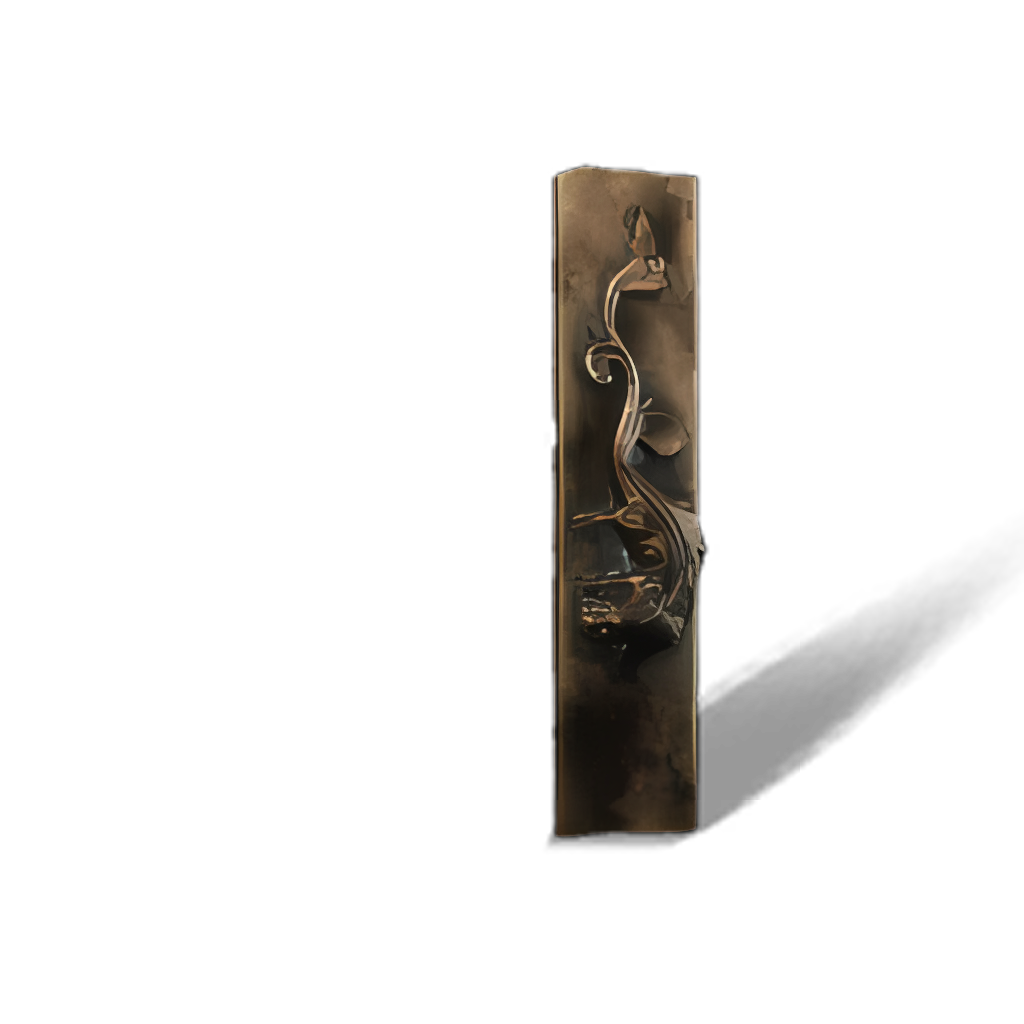 Thunderflame Seal , you’ll see a huge increase to your mana pool.
This, along with finding all the Celestial Taiji Pills and making use of Zhu Dog, you can really make your mana stretch and effectively chain devastating spells and heavy attacks until your enemy eventually submits.
If your mana’s not empty by the time you beat a boss, you’re doing it wrong, so give yourself access to a few more spells and really make your foes wish they never took on the Monkey King.
1 Amber Prayer Beads
Rarity: Epic

Location | Defeat the |
|---|---|
Effect | This item increases the regeneration speed of your Focus Points. |
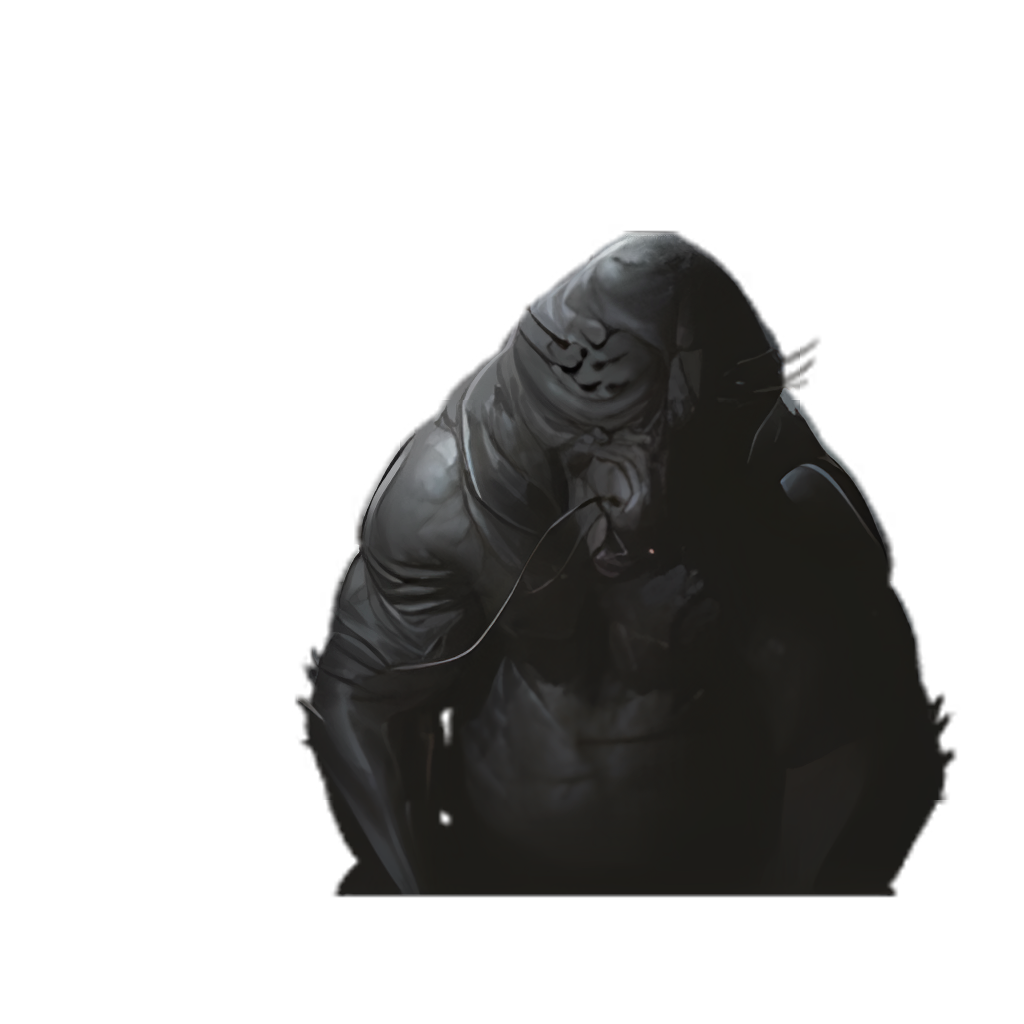 Father of Stones
 Then lastly, in our top spot we have the  Amber Prayer Beads , a Curio that allows you to gain Focus at a much faster rate. For those unaware, focus is the bar that allows you to perform stronger heavy attacks, and heavy attacks are insanely powerful in this game, so you’ll want focus to build as fast as possible.
Heavy attacks stagger enemies and keep them from countering and they allow you to potentially dodge attacks if you make use of the Pillar Stance, for example. So, whether you want to go on the offensive or defensive, focus build-up is in your best interest.
It does only present itself in chapter five which is a bummer, but truthfully, it shows up just when you need it most, so grab it as early as you can, you won’t regret it.


About author
Related posts

BattleState Games has published its preliminary roadmap for Escape From Tarkov and Escape From Tarkov: Arena until the end of 2024. The biggest item on... Continue reading

Kratos isn’t the only person to wake up and choose violence. Today, it’s gamers. God of War: Ragnarok isn’t having a great day on Steam,... Continue reading

Escape From Tarkov: Arena has received a long-awaited patch with quality-of-life features and balancing changes initially trialled on the main game. Patch 0.2.1.0 for Escape... Continue reading

Key Takeaways Rockstar Games is seeking a ‘Screenshot Capture Artist’ for marketing campaigns and potential in-game use. The listing hints at the ongoing development of... Continue reading

As you explore the harsh Frostland of Frostpunk 2, you’ll encounter crucial points like the need for Oil Pumps in Chapter 2; where you’ll choose... Continue reading
Add comment